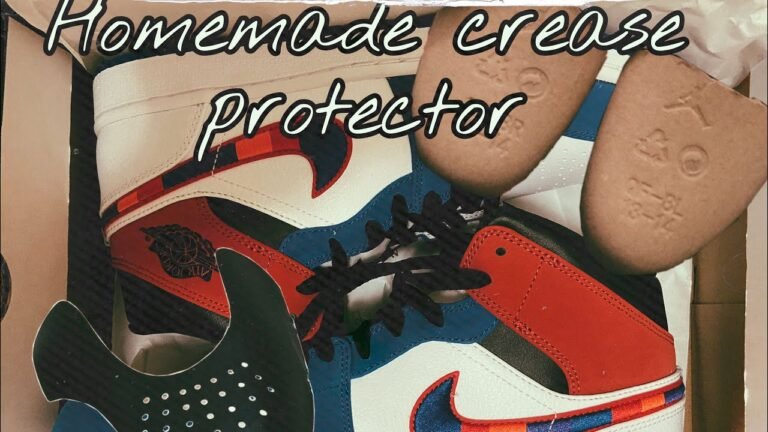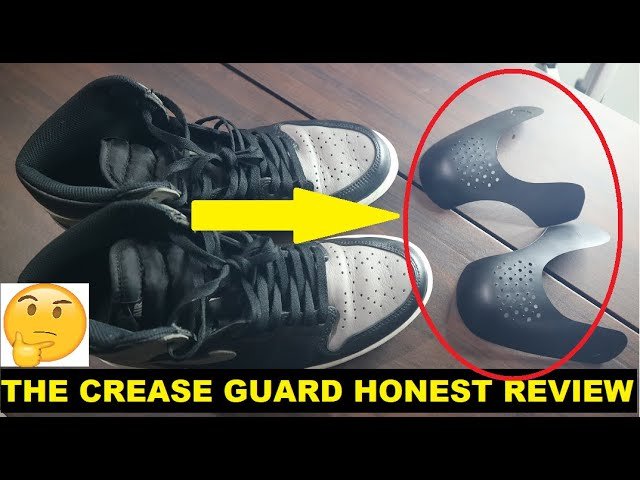
How To Put Crease Protectors In Air Force 1: Quick Guide
Slide the protector under the toe box, align edges, and pull snug to prevent creasing.
I’ve fitted dozens of crease protectors into Air Force 1s and tested brands, fits, and methods. This guide covers exactly how to put crease protectors in Air Force 1 with clear steps, tips, and mistakes to avoid so your shoes stay sharp and crease-free.

Why use crease protectors in Air Force 1
Air Force 1s have a rounded toe box that creases easily when you walk. A crease protector keeps the leather flat and reduces visible folds. Using a protector also helps preserve resale value and the clean look of your sneakers.
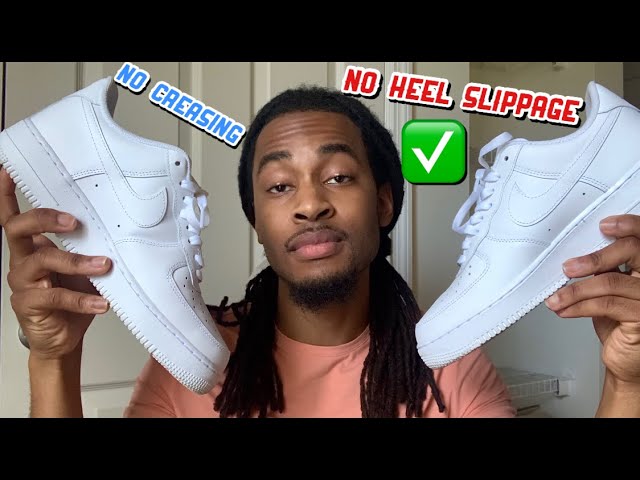
My experience shows a good protector can cut crease depth by over half when fitted correctly. If you care about looks or resale, knowing how to put crease protectors in Air Force 1 is a small habit that pays off.
Types of crease protectors and what works best for Air Force 1
There are several styles. Choose one that fits your shoe shape and lifestyle.
- Foam inserts
- Soft and cheap. Easy to insert and remove.
- Hard plastic or TPU shields
- Thin, firm, and shape-retaining. Great for minimal bulk.
- Gel or silicone inserts
- Flexible and comfortable. Good for long wear.
- Custom or cut-to-fit protectors
- Trim to match the Air Force 1 toe box for the best fit.
For Air Force 1 I prefer thin TPU shields. They follow the toe shape and sit flat under the laces. They also keep the shoe profile close to stock, which matters for photos and looks.

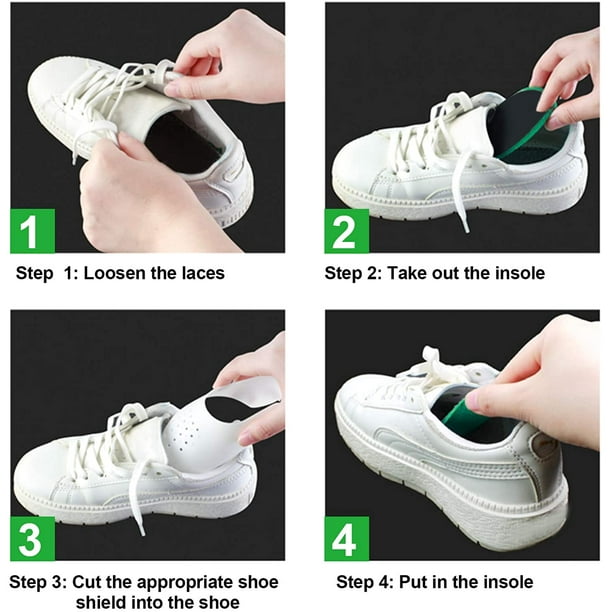
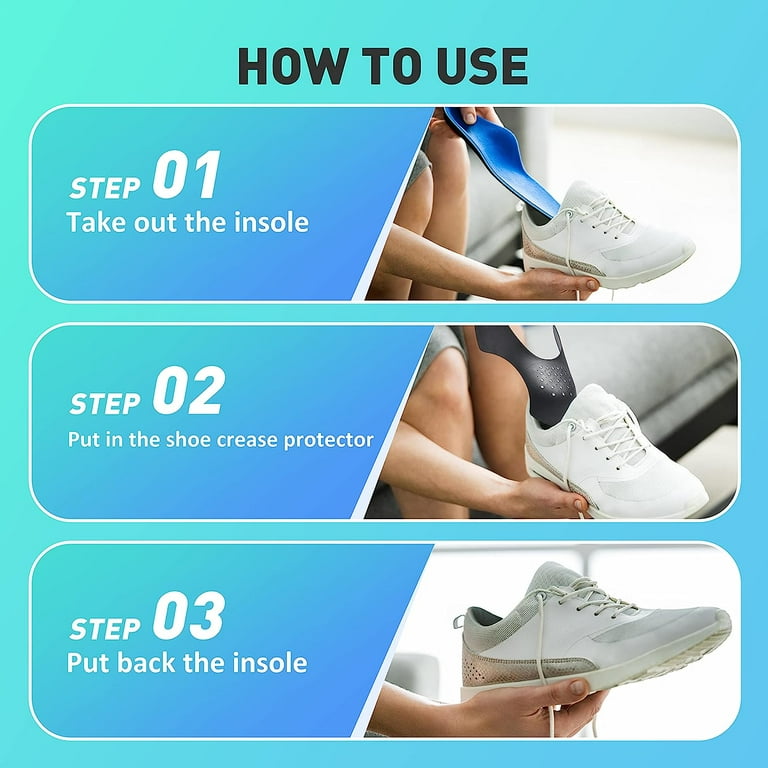
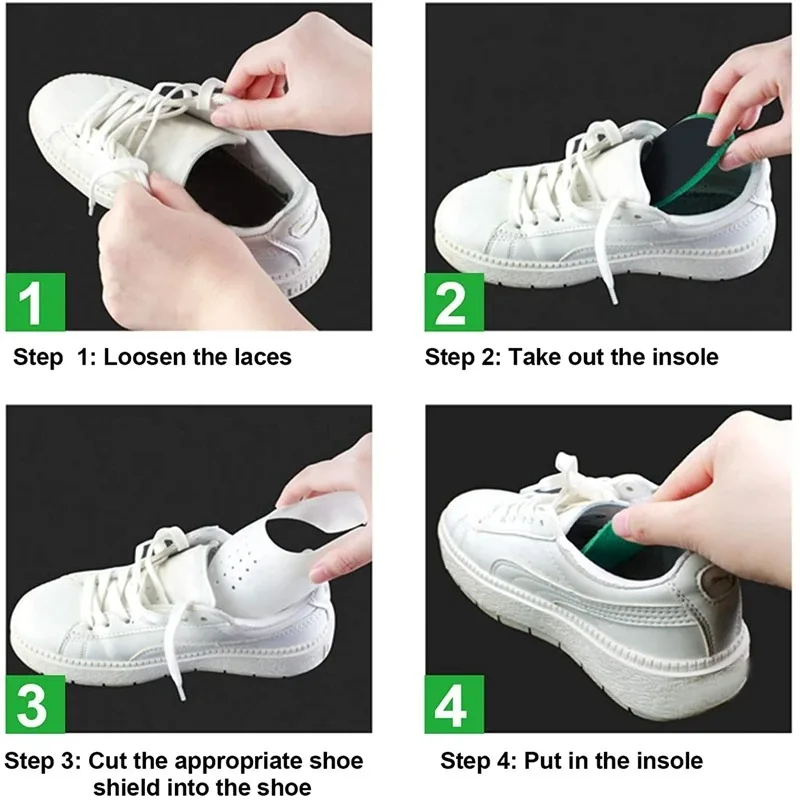
Step-by-step: how to put crease protectors in Air Force 1
Follow these clear steps. Read them once, then try on one shoe slowly.
- Prepare the shoe
- Loosen and open the laces wide. Remove the tongue if the model allows. This gives clear access to the toe box.
- Choose the protector size
- Compare the protector to the toe box. The protector should end before the toe seam and sit under the laces.
- Position the protector
- Slide the thin end under the front of the tongue. Point the curved edge toward the toe tip.
- Insert under the insole if needed
- Some protectors tuck under the insole lip. Lift the insole slightly and slide the protector forward for a flush fit.
- Smooth and align
- Flatten the leather over the protector. Ensure the edges are hidden and the protector does not poke the upper.
- Secure with laces
- Tighten the laces to hold the protector in place. Walk a few steps to check movement.
- Trim if necessary
- If the protector is too long, mark and trim carefully. Use scissors and cut little by little.
I once rushed and left a protector too long. It caused pressure on the toe seam. After trimming, the fit was perfect. Small adjustments make a big difference.
Tips, common mistakes, and maintenance
Short tips and things to avoid based on real tests.
- Tip: Warm the leather with a hairdryer on low for 10 seconds to make insertion smoother.
- Tip: Use tape gently on slick protectors to stop shifting during break-in.
- Mistake: Forcing a large protector in can stretch the leather and make new creases.
- Mistake: Leaving bulky protectors in while storing can warp shape over time.
- Maintenance: Remove protectors every few weeks to air out and check the shoe interior.
- Lifespan: Replace foam protectors every 3–6 months; TPU can last much longer.
From my experience, patience is key. Insert slowly and test by walking ten steps. If you feel pressure, adjust immediately.
How to remove and reposition crease protectors safely
Removing or moving a protector is simple and should be done with care.
- Loosen laces first so the upper can lift easily.
- Slide a finger under the protector heel and pull outward gently.
- Reposition by repeating the insertion steps and testing fit.
- For sticky or taped protectors, warm them briefly to ease removal.
I once removed a protector without loosening the laces and stretched the eyelets. Loosen laces first to avoid damage.
PAA-style questions about crease protectors
What size protector fits Air Force 1 best?
- Aim for a size that reaches just past the toe seam but not beyond the tip. Trim if needed for a closer fit.
Will crease protectors change how my Air Force 1s feel?
- You may feel a slight firmness under the toe. Most users adapt quickly and notice cleaner looks but little change in comfort.
Can you wear crease protectors all day?
- Yes, with the right fit. Thin TPU and gel protectors are best for all-day wear. Check fit and comfort first.
Do crease protectors work on leather and synthetic uppers?
- They work on both, but leather responds better. Synthetic uppers may show more edge lines if the protector is too large.
How do I clean shoes with crease protectors inside?
- Remove the protectors before cleaning. Wipe the interior with a damp cloth and air dry fully before reinserting.

Frequently Asked Questions of how to put crease protectors in air force 1
How tight should I lace the Air Force 1 after inserting a crease protector?
Lace snug but not overly tight. The goal is to hold the protector without creating pressure points that deform the toe box.
Can I use any brand of crease protector in my Air Force 1?
Most brands work, but shape matters. Choose a protector with a curved profile that matches the Air Force 1 toe box.
Should I remove the insole when inserting a protector?
Removing or lifting the insole helps with placement. It is not always necessary, but it gives a cleaner, flatter fit.
Will a crease protector prevent all creases on Air Force 1?
No protector stops every crease. A good protector reduces deep creases and slows wear, but normal flex lines may still form.
How often should I replace my crease protectors?
Replace foam protectors every few months. TPU or gel models can last a year or longer with normal use.
Conclusion
Using crease protectors is an easy, low-cost way to keep Air Force 1s looking fresh. The key steps are choosing the right type, inserting carefully, and testing fit. Start with a single pair and adjust until the protectors sit flat and comfortable.
Try this on your favorite pair this week. Share your results, ask questions, or subscribe for more shoe-care guides.