How To Put In Crease Protectors: Step-By-Step Guide
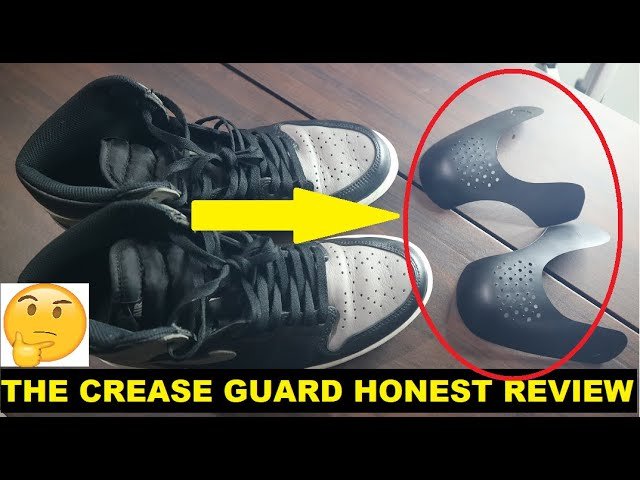
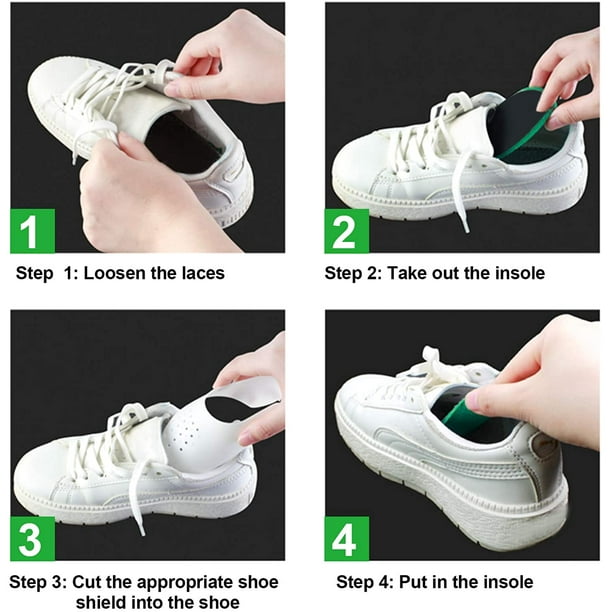
Slide the thin plastic or foam insert into the toe box, align it with the stitch line, and press gently into place.
I have installed crease protectors on dozens of pairs of dress shoes and sneakers. I will show you clear, tested steps for how to put in crease protectors so your shoes look newer longer. This guide blends hands-on tips, product choices, and troubleshooting from real experience. Read on to learn the exact tools, the step-by-step method, and small details that make the process simple and reliable.
Tools and materials you need before you start
Gather simple items before you begin. Short preparation saves time and prevents mistakes.
- Crease protectors
- Clean, dry shoes
- Soft cloth
- Shoe trees or stuffing (optional)
- Mild cleaner for leather or fabric
- Rubbing alcohol or gentle degreaser for adhesive spots
I prefer thin plastic protectors for sneakers and foam or shaped inserts for dress shoes. If your shoes are tight, choose a slimmer protector. Buy protectors made for your shoe type for best fit.

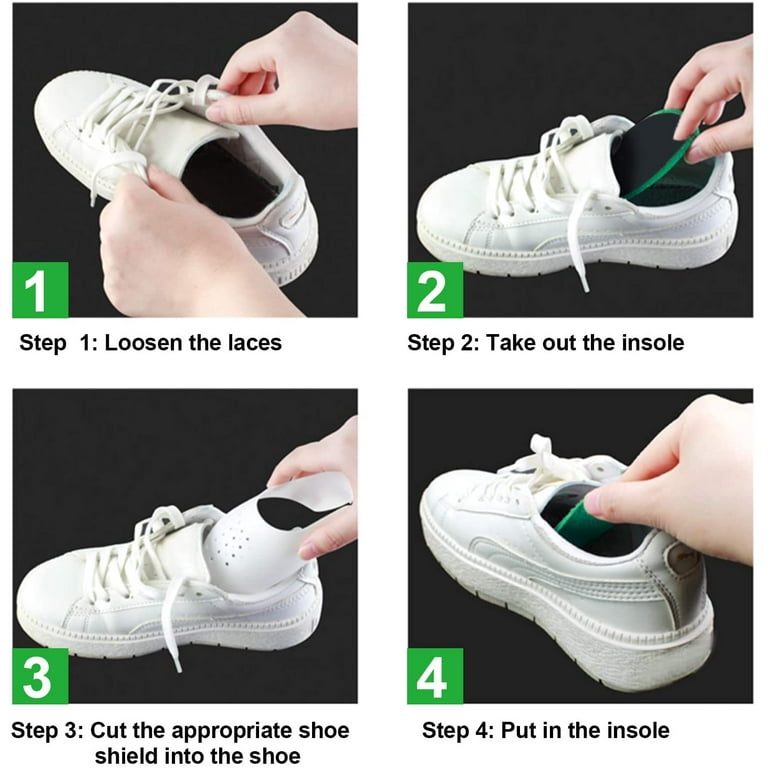
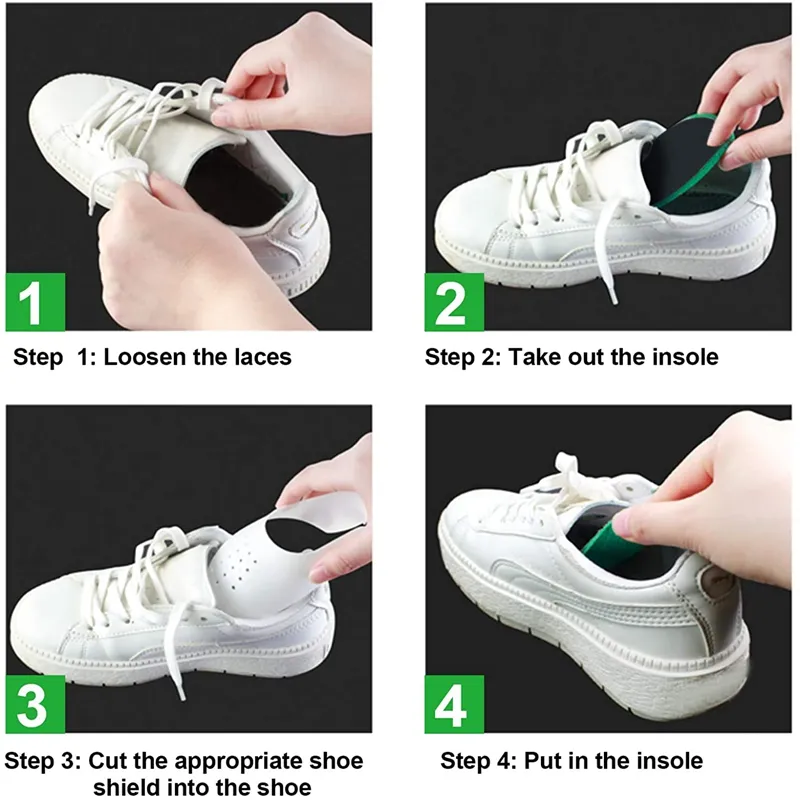
Step-by-step: how to put in crease protectors
Follow these short steps for a secure, neat fit. Keep movements slow and controlled.
-
Clean the toe box area
- Wipe the inside and outside of the toe box with a soft cloth and mild cleaner.
- Remove dirt, sweat, and oils so the protector sits flush.
-
Prepare your shoe
- Loosen laces or open straps fully.
- Insert a shoe tree or stuff the shoe lightly to keep shape.
-
Choose the correct protector size
- Match the protector to your shoe size and toe shape.
- Trim excess only if the product instructions allow.
-
Insert the protector
- Slide the protector into the toe box with the curved side facing outward.
- Position it under the folding line where creases form.
- Press the protector so it lies flat against the inner leather or fabric.
-
Secure and test fit
- Re-lace or close straps loosely.
- Bend the shoe gently with your hands to ensure the protector stays in place and prevents folding.
-
Final adjustments
- If the protector shifts, remove and reposition slightly forward or backward.
- Wear shoes for short periods to confirm comfort before full use.
If you follow these steps, your results will be consistent and your shoes will crease less. Practice on an old pair first if you are nervous about fit.
 variations”
style=”max-width: 100%; height: auto; border: 2px solid black; border-radius: 10px; display: block; margin: 0 auto;”
loading=”lazy”
/>
Common tips, mistakes to avoid, and placement variations
Small choices affect comfort and protection. Use these quick tips to avoid common errors.
- Tip: Work with shoes at room temperature so materials flex naturally.
- Tip: For leather shoes, place the protector where the leather naturally folds during walking.
- Mistake: Forcing a bulky protector into a narrow toe box can warp the shoe. Choose a slim protector instead.
- Mistake: Skipping cleaning allows oils to trap the protector away from leather, reducing effectiveness.
- Variation: Some people secure protectors with a tiny strip of double-sided tape near the heel; test first to avoid residue.
From my experience, the biggest error is choosing the wrong size. Take a moment to check fit before trimming or taping.

Types of crease protectors and how to choose the right one
Knowing the options helps you pick what works best for your shoes.
-
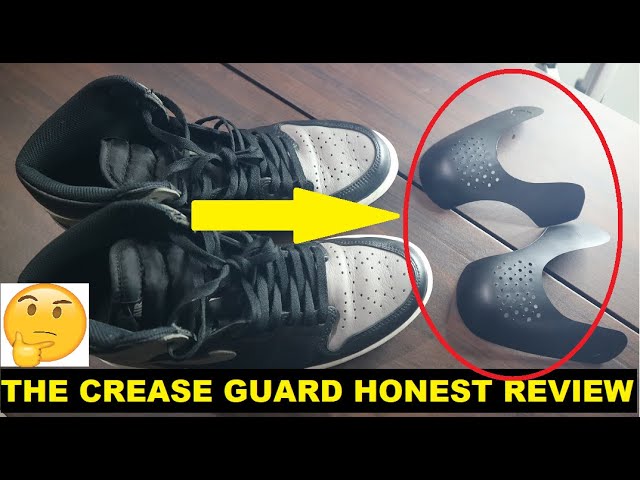
Thin plastic shields
- Best for low-profile sneakers.
- Slide in easily and keep shapes without bulk.
-
Foam inserts
- Good for dress shoes with structured toe boxes.
- Offer soft support and absorb light impact.
-
Adhesive-backed guards
- Stick to the lining to prevent slippage.
- Use sparingly to avoid residue.
-
Full internal guards
- Fit deeper into the shoe for strong anti-crease protection.
- Better for intense use or high-value shoes.
Choose based on shoe shape, material, and how visible or bulky you tolerate the insert. I test a protector type on an old pair. That helps me predict real-world comfort.

Cleaning, maintenance, and long-term care
Proper care extends the life of both the protector and the shoe.
- Clean protectors after use with mild soap and water.
- Remove adhesive residue with rubbing alcohol on a cloth.
- Air shoes completely before reinserting protectors to prevent odors.
- Replace thin protectors every few months or sooner if they crack.
I once left a protector in for a year without checking. It collected moisture and affected the shoe lining. Regular checks avoid that.
Troubleshooting common issues
If something feels off, try these quick fixes.
- Protector moves while walking
- Reposition it slightly forward or use a tiny piece of double-sided tape near the heel.
- Protector causes pressure points
- Swap to a thinner model or trim edges if the product allows.
- Protector creases the shoe more
- You may have positioned it too far forward; pull it back one centimeter.
If problems persist, test a different protector type. Not every model fits every shoe.
Frequently Asked Questions of how to put in crease protectors
What size crease protector should I buy?
Pick a protector that matches your shoe size and toe shape. If between sizes, choose the smaller model for a snug fit.
Can I trim crease protectors to fit?
Some protectors can be trimmed; check manufacturer instructions first. Trim slowly and test fit before finalizing.
Will crease protectors damage leather or fabric?
Properly installed protectors should not harm materials. Clean the shoe first and avoid adhesives that leave residue.
How long should I leave crease protectors in my shoes?
Use them whenever you want protection, especially for new shoes or during long wear. Check them every few weeks for wear.
Are crease protectors washable?
Most plastic and foam protectors are washable with mild soap and water. Dry fully before reinserting to prevent moisture buildup.
Conclusion
Putting in crease protectors is a quick way to keep shoes looking fresh. With the right size, a clean toe box, and careful placement, you can prevent early creasing and extend the life of your shoes. Try the method on a test pair, note what fits best, and make small adjustments over time. If this guide helped, try a protector that matches your shoe style, leave a comment about your experience, or subscribe for more shoe care tips.