How To Make Scrunch Bum Leggings: Easy DIY Guide
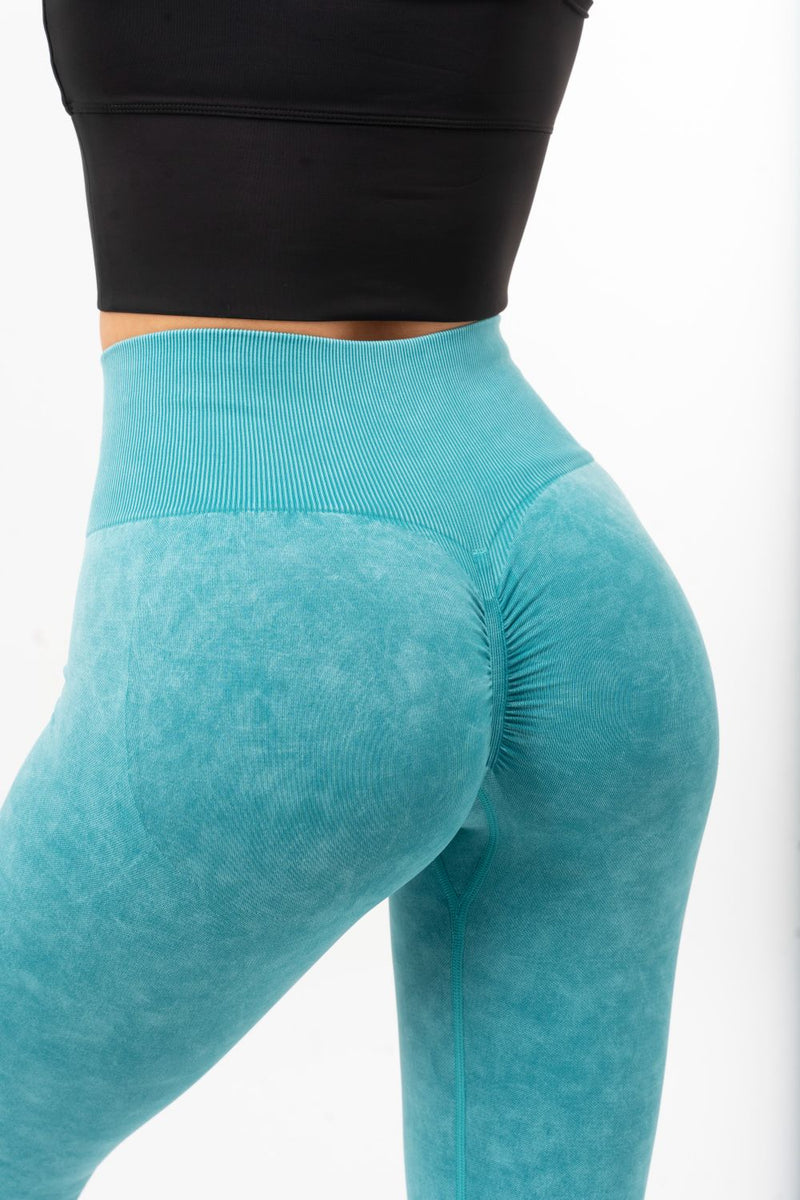
You can make scrunch bum leggings at home with stretch fabric, a leggings pattern, elastic, and a sewing machine that can sew stretch seams. The key detail is a narrow strip of elastic or a folded drawstring channel sewn along the center-back seam. This creates the gathered “scrunch” effect without cutting the leggings too tightly.
This guide uses U.S. sewing terms and measurements. It is written for home sewists in the United States who want to make one pair of workout, lounge, or dance leggings from start to finish.
A scrunch bum does not create body shaping by itself. It changes the fit and appearance of the back seam. Comfort, fabric stretch, correct sizing, and strong seams matter more than making the ruching as tight as possible.
What You Need to Make Scrunch Bum Leggings
Start with a well-fitting leggings pattern, suitable stretch fabric, and tools made for sewing knit fabric. A basic domestic sewing machine is enough, although a serger can make the seams faster and more durable.
Materials
You will need:
- A leggings sewing pattern
- Stretch fabric
- Polyester sewing thread
- Stretch, jersey, or ballpoint machine needles
- 1/4- to 3/8-inch elastic for the scrunch
- 1- to 1 1/2-inch waistband elastic, if the pattern uses elastic
- A fabric marker or tailor’s chalk
- Stretch measuring tape
- Fabric scissors or a rotary cutter
- Sewing clips or pins
- A ruler
- An iron set to a low or medium heat
- A seam ripper
Choose a pattern designed for knit fabric. A woven-pants pattern will not provide the stretch, ease, or seam shape needed for leggings.
How Much Fabric Do You Need?
Most adult leggings require about 1 1/2 to 2 1/2 yards of fabric, depending on the wearer’s size, height, leg length, fabric width, and pattern layout.
Always check the pattern’s fabric chart before buying material. When in doubt, buy a little extra. Matching the stretch direction and cutting all pieces correctly is more important than saving a few inches of fabric.
Best Fabrics for Scrunch Leggings
Look for fabric with good recovery. Recovery means the fabric returns near its original shape after being stretched.
Good choices include:
- Nylon-spandex athletic knit
- Polyester-spandex performance knit
- Supplex-style stretch knit
- Matte tricot
- Stretch jersey with enough weight for leggings
A fabric with about 20% to 30% stretch in both directions often works well for leggings, but follow the pattern’s stretch requirement first. Some patterns need more stretch than others.
Avoid thin fabric that becomes see-through when stretched. Test the fabric before cutting by holding it under bright light and stretching it across your hand. Also check whether the fabric rolls, curls, or loses its shape after stretching.
Prepare the Pattern and Check the Fit
Make the leggings pattern fit before adding the scrunch detail. The ruching cannot fix a waistband that slides down, legs that twist, or a back rise that is too short.
1. Measure the Wearer
Take these measurements while the wearer stands naturally:
- Natural waist
- Full hip
- Waist to ankle
- Inseam
- Thigh
- Calf, if the pattern includes a close leg fit
Keep the measuring tape level. Do not pull it tight.
Compare the measurements with the pattern chart. Do not choose a size only by ready-to-wear clothing size. Pattern sizes vary between companies.
2. Check the Pattern’s Stretch Requirement
Patterns often state a stretch percentage. To test fabric stretch:
- Place a ruler beside a 4-inch section of fabric.
- Hold one end at the 0-inch mark.
- Stretch the fabric without forcing it.
- Measure the new length.
- Use the formula below.
Stretch percentage = (stretched length − original length) ÷ original length × 100
For example, if 4 inches stretches to 5 inches:
(5 − 4) ÷ 4 × 100 = 25% stretch
Use the crosswise stretch for leggings unless the pattern says otherwise. Test lengthwise stretch too, because a fabric can behave differently in each direction.
3. Make a Test Version
If the fabric is expensive or the pattern is new to you, make a test pair from inexpensive stretch knit. Check:
- Waistband height
- Back rise
- Crotch comfort
- Thigh and calf fit
- Leg length
- Opacity during movement
- Seam strain when sitting or squatting
A test garment can prevent a common mistake: adding the scrunch before confirming that the center-back seam sits in the right place.
4. Mark the Center Back
Transfer the center-back line and all notches from the pattern to the fabric. These marks help you place the scrunch evenly.
If your pattern has a separate back-leg seam, mark the center-back seam on both pieces. If it has a single back piece cut on the fold, mark the fold line clearly before sewing.
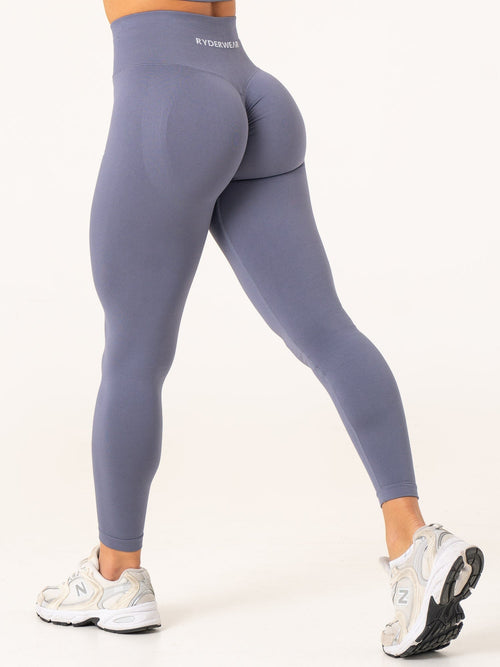
How to Add the Scrunch Detail
The simplest method uses a narrow piece of elastic sewn along the outside or inside of the center-back seam. When the elastic contracts, it gathers the fabric into a scrunch.
There are two common methods:
- Exposed elastic: The elastic is sewn on the outside of the leggings. It is quick and easy to adjust.
- Hidden elastic channel: The elastic is enclosed in a narrow fabric channel or seam allowance. It gives a cleaner finish but takes more work.
For a first pair, exposed elastic is easier to control. You can test the tension before hiding it.
Choose the Scrunch Length
The scrunch usually runs from the upper seat toward the crotch area. A starting length of about 6 to 10 inches works for many adult leggings, but the correct length depends on the pattern and wearer.
Keep the scrunch above the crotch seam. If the elastic reaches too far down, it may create discomfort, pull the crotch seam, or cause the garment to twist.
Mark the scrunch line on the wrong side of each back leg. Keep the line centered over the back seam.
Calculate the Elastic Length
Use the following starting formula:
Elastic length = finished scrunch length × 50% to 70%
For example, if the finished scrunch should measure 8 inches:
- 8 × 50% = 4 inches
- 8 × 70% = 5.6 inches
A starting elastic length of 4 1/2 to 5 1/2 inches may work. This is only a guide. Elastic strength, fabric weight, and desired gathering all change the result.
Cut the elastic slightly longer than your first estimate. You can trim it after testing. It is easier to shorten elastic than to replace elastic that is too short.
Method A: Sew Elastic Directly to the Seam
Use this method when the center-back seam is already sewn.
- Sew the leggings according to the pattern instructions.
- Press the center-back seam toward one side if the pattern allows it.
- Turn the leggings right side out.
- Mark the center-back scrunch line.
- Place the elastic along the line.
- Secure the top of the elastic with a few backstitches.
- Stretch the elastic as you sew toward the lower mark.
- Use a narrow zigzag stitch or a stretch stitch.
- Secure the bottom with backstitches.
- Release the elastic and check the gathers.
Do not stretch the leggings fabric by hand while sewing. Stretch only the elastic. Let the elastic draw up the fabric behind the presser foot.
A walking foot can help feed slippery athletic fabric evenly, but it is not required. Sewing clips can also help prevent layers from shifting.
Method B: Sew the Elastic Into the Center-Back Seam
This method gives a more integrated finish.
- Place the back-leg pieces right sides together.
- Position the elastic along the seam allowance on the wrong side.
- Baste the elastic in place without stretching it.
- Sew the center-back seam using a stretch stitch or serger.
- Press the seam as the pattern directs.
- Turn the leggings right side out.
- Topstitch near the seam if needed to keep the elastic from rolling.
This method works best when the pattern has a clear center-back seam and enough seam allowance to hold the elastic securely.
Method C: Make a Fabric Scrunch Channel
A channel can hide the elastic and make it removable.
- Cut a strip of stretch fabric about 1 1/4 to 1 1/2 inches wide.
- Make the strip long enough to cover the intended scrunch area.
- Fold the long edges inward.
- Sew the channel over the center-back line.
- Leave both ends open.
- Thread elastic through the channel.
- Secure the elastic at the top and bottom.
- Close the channel ends.
Use the same fabric or a fabric with similar stretch. A stiff channel can restrict movement and may feel uncomfortable during exercise.
Sew the Leggings With Stretch-Friendly Seams
The scrunch will only work well if the leggings seams can stretch with the fabric.
Use the Right Needle
A ballpoint or jersey needle has a rounded tip that moves between knit loops. A stretch needle is designed for elastic fabrics and may work better with high-spandex performance fabric.
Replace a dull or bent needle. Skipped stitches, small holes, and popping seams often begin with the wrong needle.
Choose a Stretch Stitch
Use one of these options:
- Narrow zigzag stitch
- Lightning stitch
- Overlock stitch
- Serger stitch
- Stretch stitch recommended by the machine manual
A straight stitch can break when the garment stretches unless it is used in a location that does not need to expand.
Test the stitch on a fabric scrap. Stretch the seam by hand. The stitches should remain intact without large loops or broken thread.
Set the Presser-Foot Pressure
Some machines allow you to reduce presser-foot pressure for knit fabrics. This can help prevent waves along seams, but the correct setting depends on the machine.
Make one test seam before adjusting the garment. If the fabric tunnels, stretches, or ripples, try:
- Lowering presser-foot pressure
- Using a walking foot
- Holding the fabric lightly behind the foot
- Reducing the stitch width
- Changing the needle
- Stabilizing only the area that needs support
Do not pull the fabric through the machine. The feed dogs should move it at a steady pace.
Assemble the Main Leggings
Follow the pattern order. Most leggings use a sequence similar to this:
- Sew the front rise.
- Sew the back rise.
- Join the front and back at the side seams.
- Sew the inseams.
- Add the waistband.
- Finish the hems.
- Add the scrunch if you want to adjust it on the finished garment.
Some patterns use a single crotch seam after joining the legs. Use the pattern instructions when they differ from this general order.
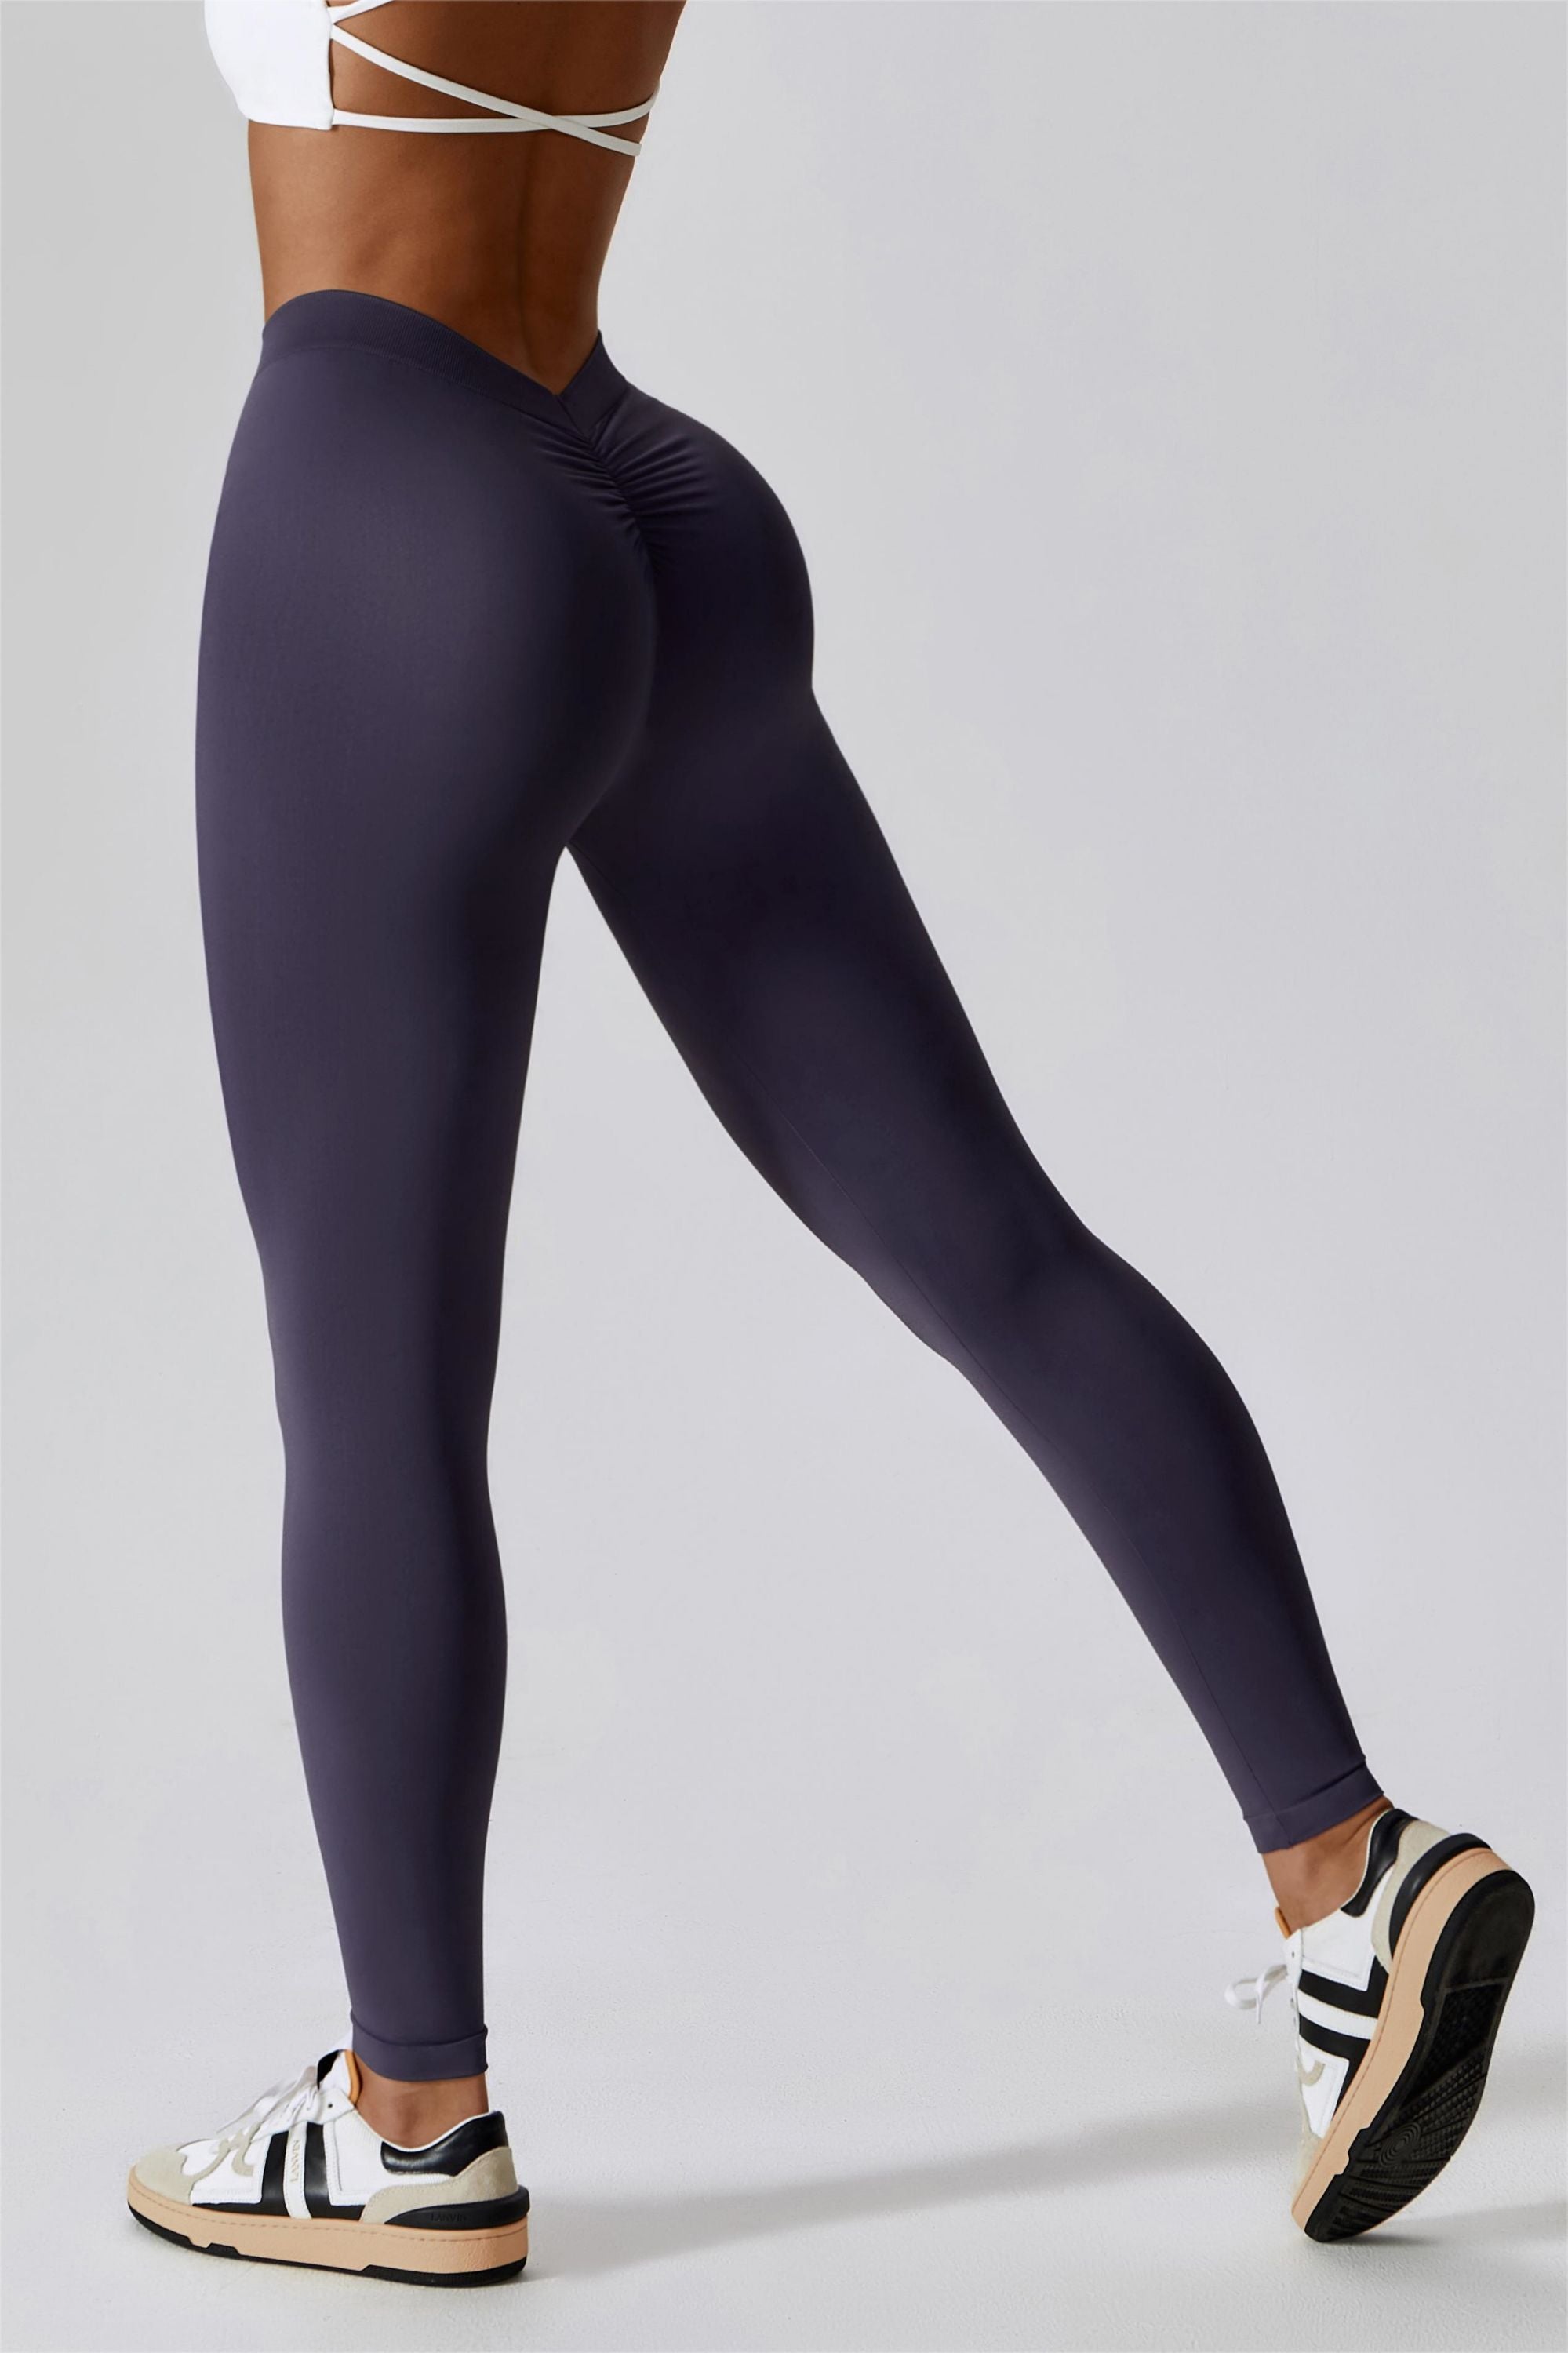
How to Sew the Waistband and Hems
A stable waistband keeps the scrunch leggings comfortable and prevents the garment from sliding down.
Waistband Options
You can use:
- A folded fabric waistband
- Wide waistband elastic
- A waistband with a drawstring
- A double-layer waistband
A fabric waistband should have enough recovery to stay in place. If it stretches too much, add elastic inside the waistband casing.
Avoid making the waistband so tight that it creates pressure or changes how the back seam sits. A waistband that is too tight can pull the scrunch upward and distort the fit.
Hem the Legs
Try the leggings on before hemming. Mark the finished length while standing.
For a simple knit hem:
- Fold the raw edge to the wrong side.
- Clip the fold in place.
- Sew with a twin needle, zigzag, or coverstitch.
- Press lightly.
Use a pressing cloth if the fabric is heat-sensitive. High heat can damage synthetic fibers or leave a shine.
Finish the Scrunch Ends
Inspect both ends of the elastic. They should be firmly secured but not bulky.
Use a short bar tack, several rows of zigzag stitching, or a reinforced seam. Keep the stitching smooth so it does not rub the skin.
If the scrunch feels sharp, stiff, or scratchy, cover the elastic with a soft fabric strip or move it to the inside of the garment.

Fit Test: Signs the Scrunch Bum Leggings Are Correct
Test the leggings through normal movements before wearing them for a workout.
Try:
- Standing
- Sitting
- Squatting
- Walking
- Bending
- Climbing stairs
- Light stretching
Look for these signs of a good result:
- The center-back seam stays centered.
- The fabric does not pull sharply at the crotch.
- The elastic gathers the fabric without pinching.
- The waistband stays in place.
- The fabric remains opaque when stretched.
- The seams do not pop or show large gaps.
- The leggings do not twist around the legs.
- The scrunch stays comfortable during movement.
Wear a thin layer underneath if the elastic feels rough. Stop using the garment if it causes pain, numbness, skin irritation, or restricted movement.
Troubleshooting Scrunch Bum Leggings
Small changes can fix most problems. Adjust one variable at a time so you know what worked.
| Problem | Likely cause | Fix |
|---|---|---|
| The scrunch is too strong | Elastic is too short or too tight | Replace it with a longer piece |
| The scrunch barely shows | Elastic is too long or weak | Shorten the elastic slightly |
| The center seam twists | Elastic is off-center or uneven | Remove and reposition it |
| The crotch feels tight | Scrunch extends too far downward | Shorten the lower end |
| The fabric looks wavy | Fabric was stretched while sewing | Use less hand pressure and a walking foot |
| The seam breaks | Straight stitch or weak thread was used | Use a stretch stitch and polyester thread |
| The waistband rolls | Waistband is too narrow or lacks support | Add elastic or use a wider band |
| The leggings are see-through | Fabric is too light or stretches too much | Choose a heavier, more opaque knit |
| The elastic rubs the skin | Elastic is exposed or too rough | Cover it with a fabric channel |
| The legs twist | Pattern grain or stretch direction was cut incorrectly | Recheck the layout and grain line |
If a seam pops during a squat, do not simply sew over the broken area. Check whether the pattern is too small, the fabric has enough stretch, and the stitch can expand.
Common Mistakes to Avoid
Using a Regular Needle
A sharp universal needle may damage some knit fabrics or create skipped stitches. Start with a needle made for stretch fabric.
Making the Elastic Too Short
Very short elastic creates strong gathering, but it can also pull the seam into a point. Begin with moderate tension and shorten it only after testing.
Placing the Scrunch Too Low
The elastic should not sit directly against the crotch seam. Leave enough space for comfort and movement.
Cutting Without Checking Stretch Direction
Stretch direction affects fit. Place the pattern’s stretch arrow across the greatest stretch unless the pattern says otherwise.
Skipping a Test Garment
Even an experienced sewist can misjudge a new pattern or fabric. A test version is especially useful when using compressive athletic fabric.
Using Heat Without Testing
Many performance fabrics contain synthetic fibers. Test the iron on a scrap first and use low or medium heat.
Overlooking Opacity
A fabric may look opaque on the bolt but become transparent when stretched. Check it under strong light and during a deep squat.
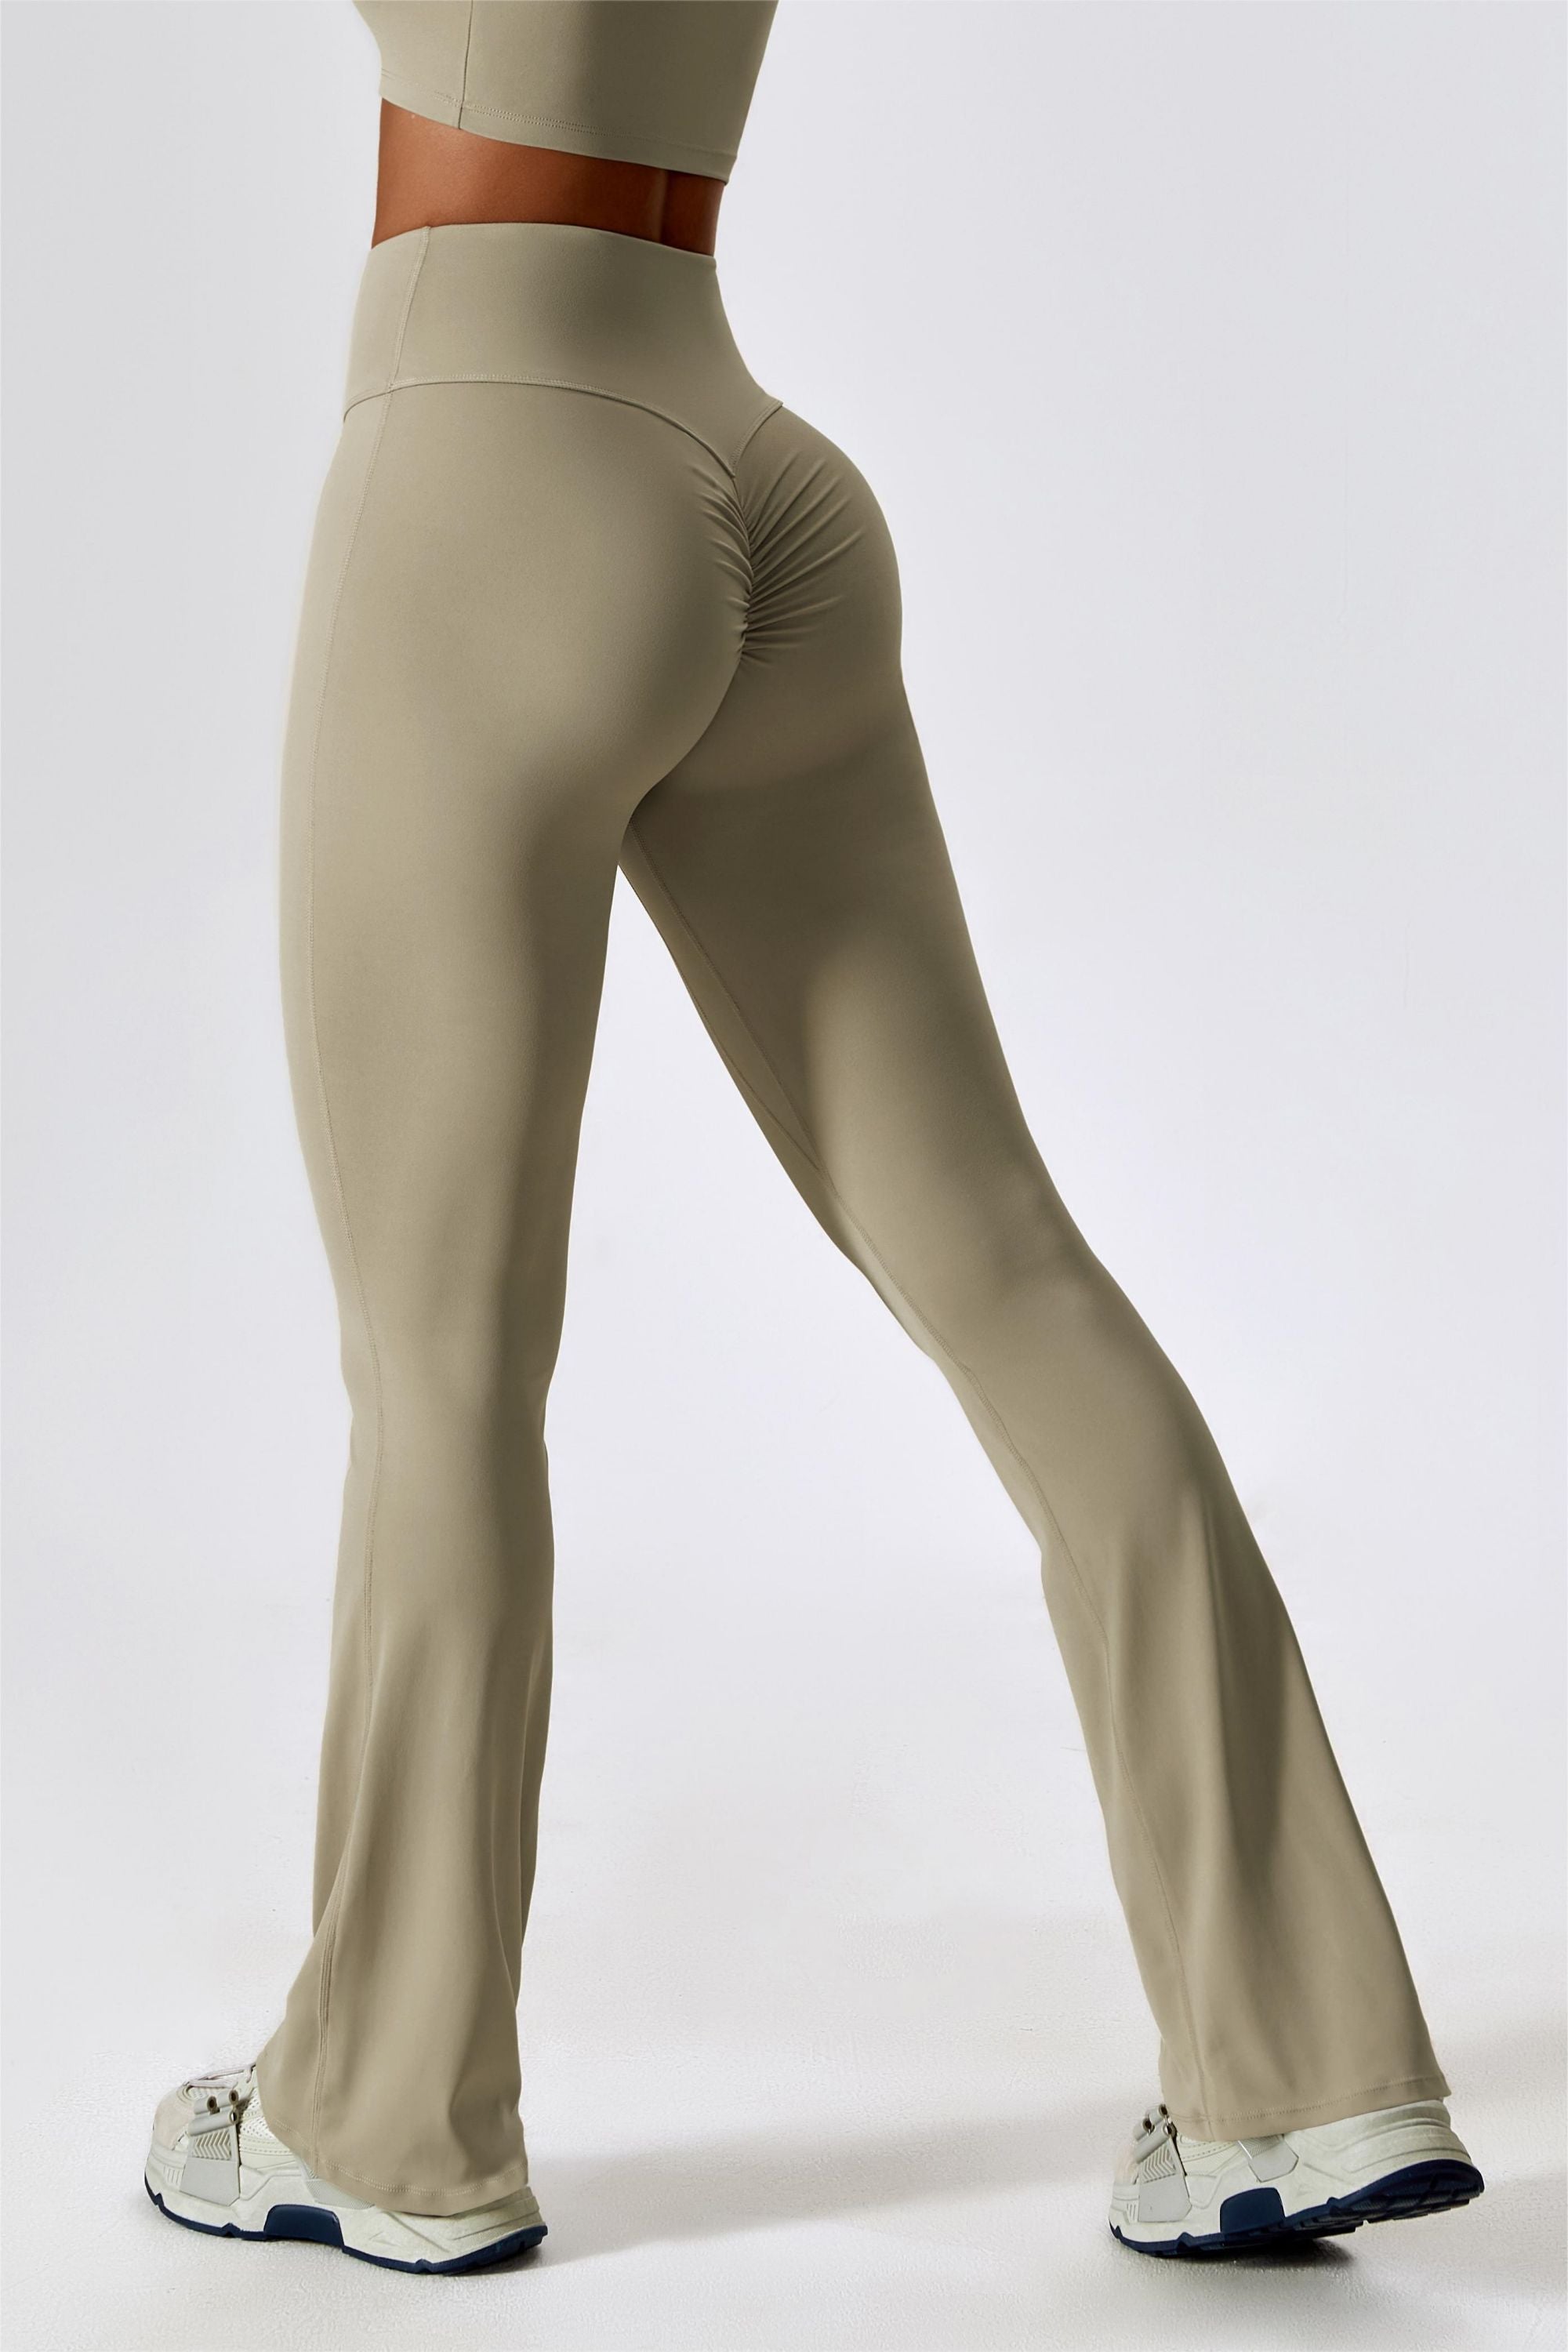
How to Wash and Maintain Scrunch Leggings
Care affects how well the fabric and elastic recover.
Follow the fabric and pattern instructions first. As a general approach:
- Wash in cool or warm water.
- Use a mild detergent.
- Avoid chlorine bleach.
- Avoid high heat.
- Air-dry when practical.
- Do not iron directly on exposed elastic.
- Keep the leggings away from rough hooks and Velcro.
High heat can weaken elastic and reduce fabric recovery over time. If the garment develops loose seams, exposed elastic, or thinning fabric, repair it before wearing it for strenuous activity.

Key Takeaways
- Start with a leggings pattern made for stretch fabric.
- Test fabric stretch before cutting.
- Use polyester thread and a stretch, jersey, or ballpoint needle.
- Add the scrunch with narrow elastic along the center-back seam.
- Begin with moderate elastic tension rather than making it very tight.
- Keep the scrunch above the crotch seam.
- Test the leggings through sitting, walking, squatting, and bending.
- Replace or adjust the elastic if it pinches, twists, or pulls the seam.
- Check opacity and seam strength before wearing the leggings for exercise.
Frequently Asked Questions
Can I make scrunch bum leggings without a serger?
Yes. A regular sewing machine can make scrunch bum leggings. Use a narrow zigzag, lightning stitch, or another stretch stitch. Test the stitch on a scrap and stretch the finished seam by hand before sewing the garment.
What elastic is best for the scrunch?
Narrow braided or knitted elastic can work well. Choose elastic that bends easily and returns to its original length. Avoid stiff elastic that feels rough or creates a sharp ridge.
Can I add a scrunch to finished leggings?
Usually, yes. Mark the center-back line, sew elastic along the inside or outside, and secure both ends. Work carefully because finished leggings may have limited seam allowance around the center-back area.
How tight should scrunch elastic be?
It should gather the fabric without pinching, pulling the crotch, or changing the waistband position. A moderate starting point is to cut the elastic to about 50% to 70% of the finished scrunch length, then adjust after testing.
Why does my scrunch bum seam look like a point?
The elastic may be too short, too tight, or placed too close to the crotch. Try a longer elastic, reduce the tension, and shorten the scrunch area from the bottom.
Can I use cotton jersey for scrunch leggings?
You can, but many cotton jerseys have less recovery than athletic nylon-spandex or polyester-spandex knits. The leggings may stretch out at the knees, seat, or waistband. Check the pattern’s stretch requirement before cutting.
Do scrunch bum leggings need a special pattern?
No. You can add the detail to many leggings patterns with a center-back seam. A pattern with a separate back seam makes placement easier, but a fold-back pattern can also be modified with a marked center-back line.
Conclusion
To make scrunch bum leggings, sew a well-fitting pair from suitable stretch fabric, then add narrow elastic along the center-back seam. The best results come from moderate gathering, strong stretch seams, and a careful movement test.
Begin with a simple test pair. Adjust the elastic length only after checking comfort, seam strength, opacity, and fit. Once the method works, you can change the scrunch length, use a hidden channel, or adapt the detail to shorts and bike shorts.